
How to Install WordPress with LAMP on Debian 9 - Hallo Dear, elisa-head.blogspot.com, This article that you read this time with the title How to Install WordPress with LAMP on Debian 9, We have prepared this article well for you to read and retrieve the information in it. hopefully the contents of we write can be understood by you. Alright, happy reading.
Title : How to Install WordPress with LAMP on Debian 9
link : How to Install WordPress with LAMP on Debian 9
How to Install WordPress with LAMP on Debian 9
[ad_1]Installing WordPress on Debian 9 is not a difficult thing. You need LAMP for WordPress installation on Debian to run smoothly. Well, in this article we will discuss how to install WordPress on Debian using LAMP.
Make sure you have installed LAMP first. After LAMP is installed, you can now start following the WordPress install guide on Debian using LAMP below.
How to Install WordPress with LAMP on Debian 9
To be clearer, here is a discussion of the steps to install WordPress with LAMP on Debian 9.
Step 1: Creating the MariaDB Database
MySQL functions to manage and store all WordPress data. You need to create a database in MariaDB to run PHP, which uses MariaDB queries inside PHP markup, as an instruction language for CRUD (Create, Read, Update, Update and Delete) Delete data from the MariaDB database.
Following are the steps to create a MariaDB database:
$ mysql -u root -pYou will be asked to enter the MariaDB root account password.
The next step is to create a separate database that WordPress can control. Make sure the database name does not contain spaces and symbols. You can create a database for WordPress by typing the command.
MariaDB> CREATE DATABASE domain_Anda DEFAULT CHARACTER SET utf8 COLLATE utf8_unicode_ci;Note
Every MariaDB statement must end with a semicolon; Check to make sure this is there if you experience a problem.
Next, you will create a separate MariaDB user account that you will use exclusively to operate on your new database. Creating a single-function database and account is a good idea from a management and security point of view. In this tutorial we will use the wordpressuser name, please change it if you want.
We will create this account, set a password, and provide access to the database that we created. You can do this by typing the following command. Remember to choose a strong password here for your database users:
MariaDB> GRANT ALL ON domain_Anda.* TO 'wordpressuser'@'localhost' IDENTIFIED BY 'password';You now have a database and user accounts, each created specifically for WordPress. You need to remove the privileges so that the current MariaDB instance knows about the latest changes made:
MariaDB> FLUSH PRIVILEGES;Exit MariaDB by typing the command:
MariaDB> EXIT;
Step 2: Install PHP Extensions
The PHP extension is useful for supporting WordPress and some special plugins.
You can download and install some of the most popular PHP extensions to use with WordPress by typing the command:
$ sudo apt update
$ sudo apt install php-curl php-gd php-intl php-mbstring php-soap php-xml php-xmlrpc php-zip
Note
Every WordPress plugin has its own requirements. Some may require additional PHP packages to be installed. Check your plugin documentation to find out the PHP requirements. If available, you can install it using the apt-get command as above
Step 3: Download WordPress
After all server software has been configured, you can enter the directory /var/www/html use the command:
$ cd /var/www/htmlIf you have entered the html directory, enter the command to download WordPress by typing this command:
$ wget http://wordpress.org/latest.zip
When the download is complete, extract the latest.zip file to create a WordPress directory structure using the command:
$ unzip latest.zipAfter the extraction process is complete, you can enter the Apache file to edit the file 000-default.conf:
$ nano /etc/apache2/sites-available/000-default.confThen it will be directed to the terminal file as shown below:
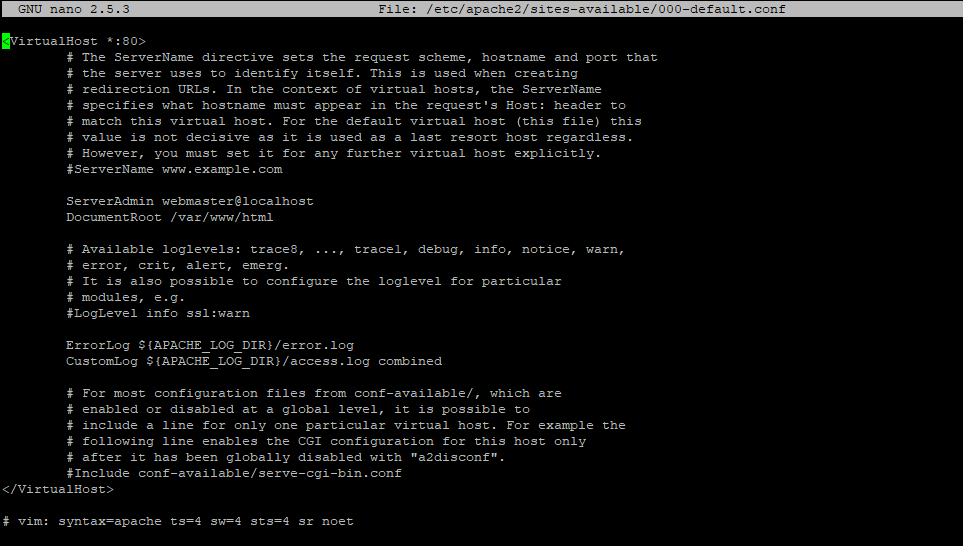
Delete everything in the file 000-default.conf use the Ctrl + K command and replace it with the command below:
	ServerName domainkamu.com
	ServerAlias www.domainkamu.com
	ServerAdmin root@localhost
	DocumentRoot /var/www/html/wordpress


		AllowOverride All
		Require all granted

        ErrorLog $APACHE_LOG_DIR/error.log
        CustomLog $APACHE_LOG_DIR/access.log combined
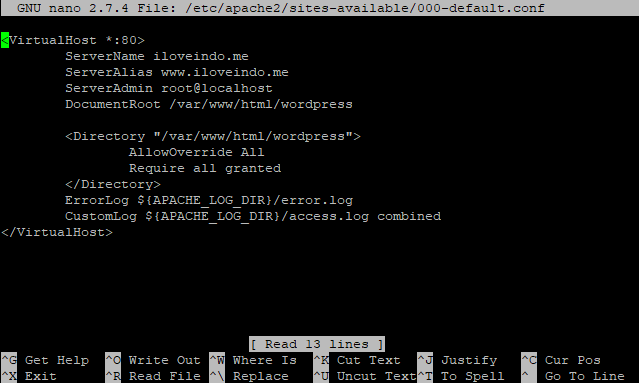
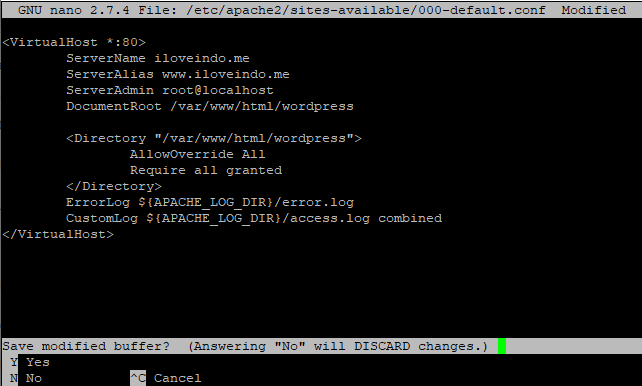
Copy the command above and paste it in the 000-default.conf file. Replace the writing in red with the domain name that you have or use the server IP. After that, save the changes with the Ctrl + X command and options will appear as shown below:
Note
When you paste text in a Debian terminal you cannot use the commandCtrl + V. But use the right click command.
Click Y to save the script changes in the 000-default.conf file that you made earlier.
After that, the command will appear as shown below. Just click ENTER and don't change the name of the file that you created earlier. Don't change the name of an existing file.
Restart Apache to apply changes using the command below
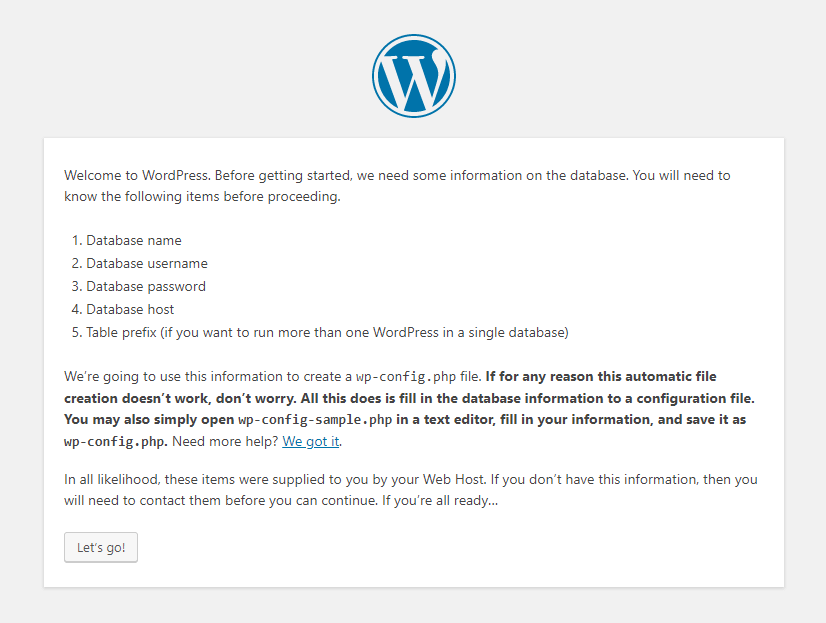
$ service apache2 restart && service mysql restartAfter the restart process is complete, access the domain or IP that you have entered on the file 000-default.conf . You will be directed to the WordPress settings view as below.
Step 4: Installing and Setting WordPress
After the display appears as above, just click the Let’s go! Button.
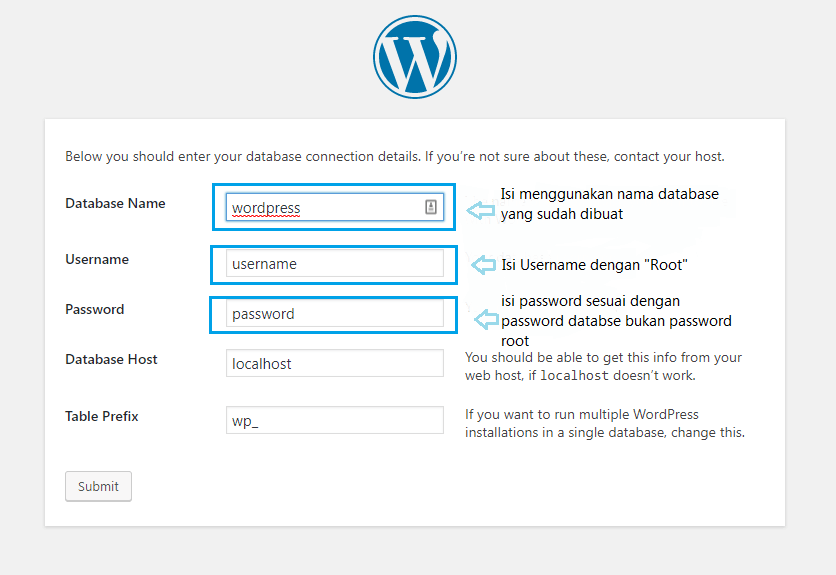
After filling out the form correctly, click the submit button. You will be directed to a page like in the picture like this
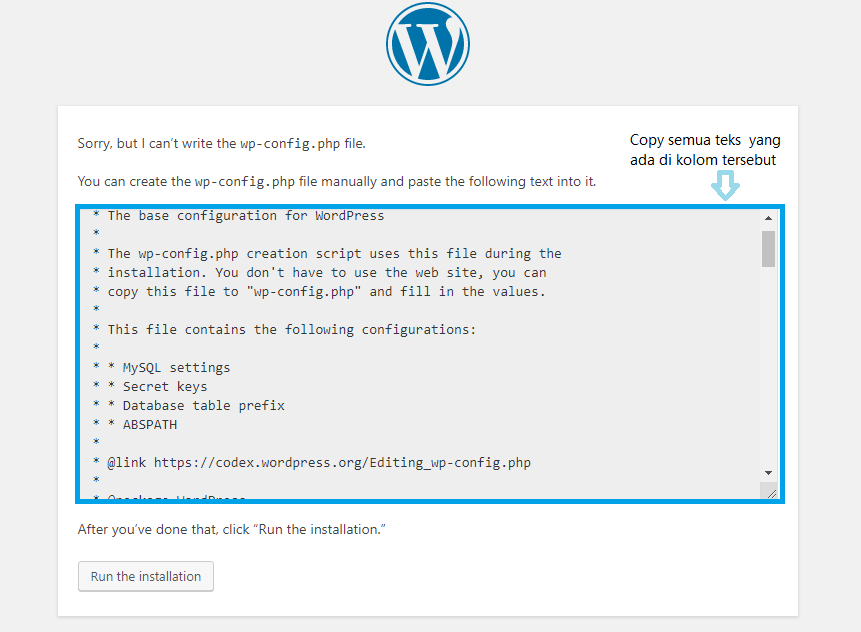
Copy all the text in the column above then open Terminal using this command.
$ nano /var/www/html/wordpress/wp-config.php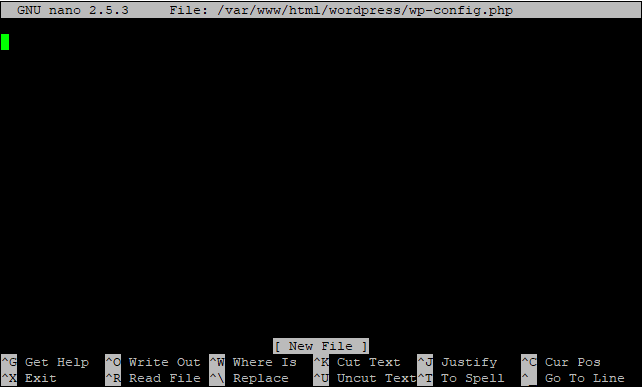
Place the text that you copied here with the command right click> Paste (don't use CTRL + V).
Return to the browser window and click the button Run the Installation. After the installation process is complete, you will be asked to enter your WordPress account details such as site name, username, password and email. Create complicated passwords to improve the security of your WordPress.
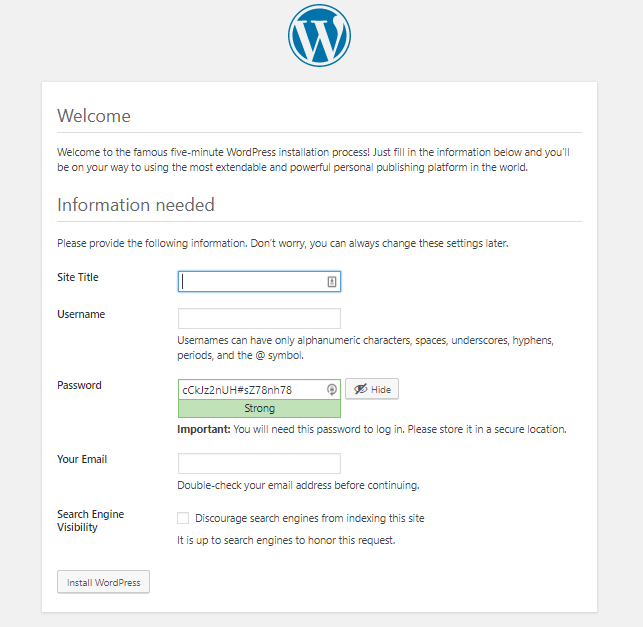
After all the website data is filled in correctly, click Install WordPress. Next, you will be directed to the WordPress login page. You can log in to the WordPress dashboard using the username and password that you created earlier.
Conclusion
Thus the article about how to install WordPress with LAMP on Debian 9. If this is your first time using WordPress, explore the interface a little to get acquainted with your new CMS. If you still have questions, do not hesitate to add them through the comments below. Please subscribe to get information related to online business, digital marketing, and technology from us.
[ad_2]
Thus the article How to Install WordPress with LAMP on Debian 9
You are now reading the article How to Install WordPress with LAMP on Debian 9 with the link address https://elisa-head.blogspot.com/2019/10/how-to-install-wordpress-with-lamp-on_38.html